Thursday, December 17, 2020
Saturday, July 4, 2020

Monday, May 18, 2020
Searchable Multi Select (LWC)
Intention and Description:Helps user select multiple options with a search capability.
Code Snippet:
Courtesy and Inspiration: Santanu Boral
Features:
- Single component can be called from anywhere.
- Set the Multi Select Label Name. @api labelName = '';
- Pass the Full option lists. @api allList = [];
- Pass placeholder name in search text box. @api placeHolder = 'Search...';
- Receive the selected items in Parent through onselected Event
Git link
Video:simpleMultiSelect.html
1 2 3 4 5 6 7 8 9 10 11 12 13 14 15 16 17 18 19 20 21 22 23 24 25 26 27 28 29 30 31 32 33 34 35 36 37 38 39 40 41 42 43 44 45 46 47 48 49 50 | <template> <div class="slds-form-element" > <label class="slds-form-element__label" for="combobox-unique-id">{labelName}</label> <div class="slds-form-element__control"> <div class="slds-combobox_container slds-size_small"> <div class={comboClass} aria-expanded={listOpened} aria-haspopup="listbox" role="combobox"> <div class="slds-combobox__form-element slds-input-has-icon slds-input-has-icon_right"> <lightning-input id="input" value={searchInput} onclick={SearchClick} onchange={ChangeSearchInput} variant="label-hidden" aria-autocomplete="list" role="textbox" autocomplete="off" placeholder={placeHolder} type="text"> </lightning-input> <span class="slds-icon_container slds-icon-utility-down slds-input__icon slds-input__icon_right" > <lightning-icon icon-name="utility:down" size="x-small" ></lightning-icon> <span class="slds-assistive-text">Click to open the List</span> </span> </div> <div class=" slds-form-element__control slds-input-has-icon slds-input-has-icon slds-input-has-icon_left-right" role="none"> <template for:each={selectedList} for:item="selectedItem"> <span key={selectedItem.value}> <lightning-pill label={selectedItem.label} name={selectedItem.value} data-item={selectedItem.value} onremove={handleRemoveRecord}> </lightning-pill> </span> </template> </div> <div id="listbox-id-1" class="zindexHigh slds-dropdown slds-dropdown_length-5 slds-dropdown_fluid" role="listbox"> <div class="slds-size_2-of-2 slds-popover__body slds-popover__body_small"> <template for:each={displayList} for:item="Item"> <span key={Item.value}> <lightning-input type="checkbox" label={Item.label} value={Item.value} checked={Item.selected} onchange={handleCheckboxChange}></lightning-input> </span> </template> </div> </div> </div> </div> </div> </div> </template> |
simpleMultiSelect.js


  1
  2
  3
  4
  5
  6
  7
  8
  9
 10
 11
 12
 13
 14
 15
 16
 17
 18
 19
 20
 21
 22
 23
 24
 25
 26
 27
 28
 29
 30
 31
 32
 33
 34
 35
 36
 37
 38
 39
 40
 41
 42
 43
 44
 45
 46
 47
 48
 49
 50
 51
 52
 53
 54
 55
 56
 57
 58
 59
 60
 61
 62
 63
 64
 65
 66
 67
 68
 69
 70
 71
 72
 73
 74
 75
 76
 77
 78
 79
 80
 81
 82
 83
 84
 85
 86
 87
 88
 89
 90
 91
 92
 93
 94
 95
 96
 97
 98
 99
100
101
102
103
104
105
106
107
108
109
110
111
112
113
114
115
116
117
118
119
120
121
122
123
124
125
126
127
128
129
130
131
132
133
134
135
136
137
138
139
140
141
142
143
144
145
146
147
148
149
150
151
152
153
154
155
156
157
158
159
160
161
162
163
164
165
166
167
168
169
170
171
172
173
174
175
176
177
178
179
180
181
182
183
184
185
186
187
188
189
190
191
192
193
194
195
/* eslint-disable eqeqeq */
/* eslint-disable array-callback-return */
/* eslint-disable no-console */
/* eslint-disable no-alert */

import {
    LightningElement,
    api,
    track
} from "lwc";

export default class SimpleMultiSelect extends LightningElement {
    @api allList = []; //receive the full list from calling component
    @api placeHolder = 'Search...'; // Display place holder Text in the input box
    @api labelName = ''; //Label the Component

    //contains list to be displayed
    @track displayList = [];

    //contains the selected list
    @api selectedList = [];

    //search letters input by the user
    @track searchInput = '';

    //toggle between the list opened and Closed, default is false
    @track listOpened = false;

    //style of the div
    @track comboClass = 'slds-combobox slds-dropdown-trigger slds-dropdown-trigger_click';

    //initialization of the list
    connectedCallback()
    {
        this.allList.map(allListElement => {

            if (allListElement.selected) {

                    this.selectedList = [
                        ...this.selectedList,
                        {
                            label: allListElement.label,
                            value: allListElement.value,
                            selected: allListElement.selected
                        }
                    ]

            }

        });
    }

    //fires when the list expands or collapsed
    SearchClick() {

        if (!this.listOpened) {

           this.listOpened = true;
           this.comboClass = 'slds-combobox slds-dropdown-trigger slds-dropdown-trigger_click slds-is-open';

            this.displayList = []; //initialize the array before assigning values coming from apex

            this.allList.map(allListElement => {

                if (allListElement.selected) {

                    //Add item to selectedList of not already present
                    if (this.selectedList.find(element => element.value == allListElement.value) == null) {
                        this.selectedList = [
                            ...this.selectedList,
                            {
                                label: allListElement.label,
                                value: allListElement.value,
                                selected: allListElement.selected
                            }
                        ]
                    }
                }

                //Add item to displayList of not already present
                this.displayList = [
                    ...this.displayList,
                    {
                        label: allListElement.label,
                        value: allListElement.value,
                        selected: (this.selectedList.find(element => element.value == allListElement.value) != null)
                    }
                ];

            });
        }
        else if (this.listOpened)
        {
            this.searchInput = ''; //clearing the text
            this.listOpened = false;
            this.comboClass = 'slds-combobox slds-dropdown-trigger slds-dropdown-trigger_click';

            //Pulishing Selected items through Event After closeing the dropdown list

            this.publishEvent();
        }
    }

    //filter the display options based on user's search input
    ChangeSearchInput(event) {


       this.listOpened = true;
       this.comboClass = 'slds-combobox slds-dropdown-trigger slds-dropdown-trigger_click slds-is-open';


        this.searchInput = event.target.value.toLowerCase();

        this.displayList = []; //initialize the array before assigning values coming from apex

        //filter the global list and repolulating the display options
        let filterList = this.allList.filter(
            item => item.value.toLowerCase().includes(this.searchInput.trim()) == true
        );

        filterList.map(allListElement => {
            this.displayList = [
                ...this.displayList,
                {
                    label: allListElement.label,
                    value: allListElement.value,
                    selected: this.selectedList.find(element => element.value == allListElement.value) != null
                }
            ];


        });
    }

    //handle check box changes to re-evaluate the display option and selected list
    handleCheckboxChange(e) {


        if (e.detail.checked) {

            if (this.selectedList.find(element => element.value == e.target.value) == null) {
                this.selectedList = [
                    ...this.selectedList,
                    {
                        label: e.target.label,
                        value: e.target.value,
                        selected: e.detail.checked
                    }
                ]
            }
        } else // unchecked
        {
            this.selectedList = this.selectedList.filter(
                item => item.value != e.target.value
            );
        }

        this.displayList.map(element => {

            if (element.value == e.target.value) {

                element.selected = e.detail.checked;

            }

        });

    }
    //handle pill action. re-evaluate display option and selected list
    handleRemoveRecord(e) {
        const removeItem = e.target.dataset.item;

        this.selectedList = this.selectedList.filter(item => item.value != removeItem);

        this.displayList.map(element => {

            if (element.value == removeItem) {

                element.selected = false;

            }

        });


    }
    //Publishning the selected list
    publishEvent()
    {
        // Creates the event with selected items.
        const selectedEvent = new CustomEvent('selected', { detail: this.selectedList });
        // Dispatches the event.
        this.dispatchEvent(selectedEvent);
    }
}


simpleMultiSelect.css


 1
 2
 3
 4
 5
 6
 7
 8
 9
10
.zindexHigh {
  z-index: 999;
  top: 30px;
  position: absolute;
}

.zindex2 {
  z-index: 2;
  position: relative;
}


testMultiSelect ( Parent Calling Component)


testMultiSelect.html


 1
 2
 3
 4
 5
 6
 7
 8
 9
10
11
12
13
14
15
16
17
18
<template>
    This is custom MultiSelect Test
</br>
    <c-simple-multi-select all-list={simpleMultiSelectList} place-holder="Select..."
    label-name="My MultiSelect" onselected={Displayitems}>
    </c-simple-multi-select>
</br>
    <lightning-card title="Select Items in Parent" icon-name="custom:custom67">
            <div class="slds-m-horizontal_medium">

                <template for:each={objectInfo} for:item='item'>
                    <li class="slds-listbox__item slds-search-dropdown-list-items" key={item.label}>
                       <div>{item.value}</div>
                     </li>
                </template>
            </div>
        </lightning-card>
</template>


testMultiSelect.js


 1
 2
 3
 4
 5
 6
 7
 8
 9
10
11
12
13
14
15
16
17
18
19
20
21
22
23
24
25
26
27
28
29
30
/* eslint-disable no-console */
import { LightningElement,track } from 'lwc';

export default class TestMultiSelect extends LightningElement {

    @track simpleMultiSelectList = [];
    @track objectInfo = [];

    connectedCallback()
    {
        this.simpleMultiSelectList.push({label: 'Jiten',value: 'Jiten', selected : false});
        this.simpleMultiSelectList.push({label: 'Animesh',value: 'Animesh', selected : false});
        this.simpleMultiSelectList.push({label: 'Santanu Boral',value: 'Santanu Boral', selected : true});
        this.simpleMultiSelectList.push({label: 'Santanu Pal',value: 'Santanu Pal', selected : false});
        this.simpleMultiSelectList.push({label: 'Suman',value: 'Suman', selected : false});
        this.simpleMultiSelectList.push({label: 'Option 6',value: 'Option 6', selected : false});
        this.simpleMultiSelectList.push({label: 'Option 8',value: 'Option 8', selected : false});
        this.simpleMultiSelectList.push({label: 'Option 9',value: 'Option 9', selected : false});
        this.simpleMultiSelectList.push({label: 'Option 10',value: 'Option 10', selected : false});
        this.simpleMultiSelectList.push({label: 'Option 11',value: 'Option 11', selected : false});
        this.simpleMultiSelectList.push({label: 'Option 12',value: 'Option 12', selected : false});
    }

    Displayitems(event)
    {
        console.log(event.detail);

        this.objectInfo = event.detail;
    }
}
Friday, November 29, 2019
Reading and Populating MAP in LWC
The following example uses wire adapter to get metadata about a specific object. The response includes metadata describing fields, child relationships, record type, and theme.
data.fields provides the list of all fields of contact object in a MAP with key value pair. objectInfo is a MAP which is populated with the values received in data.fields.
Javacript file:
html file:
data.fields provides the list of all fields of contact object in a MAP with key value pair. objectInfo is a MAP which is populated with the values received in data.fields.
Javacript file:
/* eslint-disable guard-for-in */
/* eslint-disable no-console */
import { LightningElement, wire, track } from 'lwc';
import { getObjectInfo } from 'lightning/uiObjectInfoApi';
import CONTACT_OBJECT from '@salesforce/schema/Contact';

export default class UserOnboard extends LightningElement {

    @track objectInfo = [];

    @wire(getObjectInfo, { objectApiName: CONTACT_OBJECT })
    wiredContact({ error, data }) {
        if (data) {

            //data.fields is a Map<String, Field>
            for(let key in data.fields)
            {
               //Inserting Data into Map
                this.objectInfo.push({value:data.fields[key].apiName, isRequired:data.fields[key].required, key:key})
            }
        } else if (error) {
            this.error = error;
            this.record = undefined;
        }
    }

}
<template>
    <lightning-card title="Wire Get Object Info" icon-name="custom:custom67">
        <div class="slds-m-horizontal_medium">

            <template for:each={objectInfo} for:item='item'>
                <li class="slds-listbox__item slds-search-dropdown-list-items" key={item.key}>
                   <div>{item.value}</div>
                 </li>
            </template>
        </div>
    </lightning-card>
</template>
Thursday, November 21, 2019
Reading URL Parameter in Aura Component
You can read the URL parameters in the following way through a lightning Aura Component.
Aura Component to display the query parameter key and values.
ReadUrlParam.cmp
<aura:component
  implements="flexipage:availableForAllPageTypes,flexipage:availableForRecordHome,force:hasRecordId"
  access="global"
>
  <aura:handler name="init" action="{!c.doInit}" value="{!this}" />
  <aura:attribute name="paramValues" type="Map" />
  <div>
    <aura:iteration items="{!v.paramValues}" var="pv" indexVar="key">
      {!pv.key} - {!pv.value}

      <br />
    </aura:iteration>
  </div>
</aura:component>
ReadUrlParam.js
({
 doInit : function(component, event, helper)
    {
        var querystring = location.search.substr(1);
        var paramValue = [];
        querystring.split("&").forEach(function(part) {
        var param = part.split("=");
        paramValue.push({value:decodeURIComponent(param[1]), key:param[0]});

        });
   component.set("v.paramValues",paramValue);
  }
})
?first=Suman&last=Halder&middle=none
Tuesday, September 24, 2019
Navigate to Community page in LWC
The Following code will help navigate from one page to other in community using LWC.
In the below example Page 1 is calling Page2.
Page1:
HTML:
JS:
MetaData xml:
Page 2:
HTML:
JS:
MetaData xml:
In the below example Page 1 is calling Page2.
Page1:
HTML:
<template> <!-- Neutral variant (default) --> <lightning-button label="click Please" title="Neutral action" onclick={handleClick} class="slds-m-left_x-small"> </lightning-button> </template> |
1 2 3 4 5 6 7 8 9 10 11 12 13 14 15 16 17 18 19 20 21 22 23 24 | /* eslint-disable no-alert */ /* eslint-disable no-console */ import { LightningElement } from 'lwc'; import { NavigationMixin } from 'lightning/navigation'; export default class Nav1Community extends NavigationMixin(LightningElement) { handleClick(event) { alert(event.target.label); //console.log(event.target.label); //pagetwo this[NavigationMixin.Navigate]({ type: 'comm__namedPage', attributes: { pageName: 'pagetwo' }, state: { 'category': 'param1value' } }); } } |
1 2 3 4 5 6 7 8 9 10 | <?xml version="1.0" encoding="UTF-8"?> <LightningComponentBundle xmlns="http://soap.sforce.com/2006/04/metadata" fqn="nav1Community"> <apiVersion>46.0</apiVersion> <isExposed>true</isExposed> <targets> <target>lightningCommunity__Page</target> <target>lightningCommunity__Default</target> <target>lightning__HomePage</target> </targets> </LightningComponentBundle> |
HTML:
1 2 3 | <template> <lightning-badge label={urlParam} ></lightning-badge> </template> |
1 2 3 4 5 6 7 8 9 10 11 12 13 14 15 16 | import { LightningElement,api } from 'lwc'; export default class Nav2Community extends LightningElement { @api urlParam = 'test'; connectedCallback() { let testURL = window.location.href; let newURL = new URL(testURL).searchParams; // eslint-disable-next-line no-console console.log('id ===> '+newURL.get('category')); this.urlParam = newURL.get('category'); } } |
1 2 3 4 5 6 7 8 9 10 11 | <?xml version="1.0" encoding="UTF-8"?> <LightningComponentBundle xmlns="http://soap.sforce.com/2006/04/metadata" fqn="nav2Community"> <apiVersion>46.0</apiVersion> <isExposed>true</isExposed> <targets> <target>lightningCommunity__Page</target> <target>lightningCommunity__Default</target> <target>lightning__HomePage</target> </targets> </LightningComponentBundle> |
Thursday, April 4, 2019
Setup Visual Studio Code WITH Salesforce CLI
Install the Command Line Interface (CLI)
The steps are consolidated from Trialhead modules.
The steps are consolidated from Trialhead modules.
- Download the CLI using the appropriate link below.
Operating System
|
Link to Installer
|
macOS
| |
Windows 32-bit
| |
Windows 64-bit
|
- Install the CLI through the installer.
- Make sure the Environment Path is set

4. Make sure the CLI is properly installed. Open the terminal app in macOS or the Command Prompt in Windows, and enter sfdx.
- You should see something like this:

- Download and install the latest version of Visual Studio Code for your operating system. If you already have Visual Studio Code installed, there’s no need to reinstall it.
- Launch Visual Studio Code
Get Familiar with the Interface
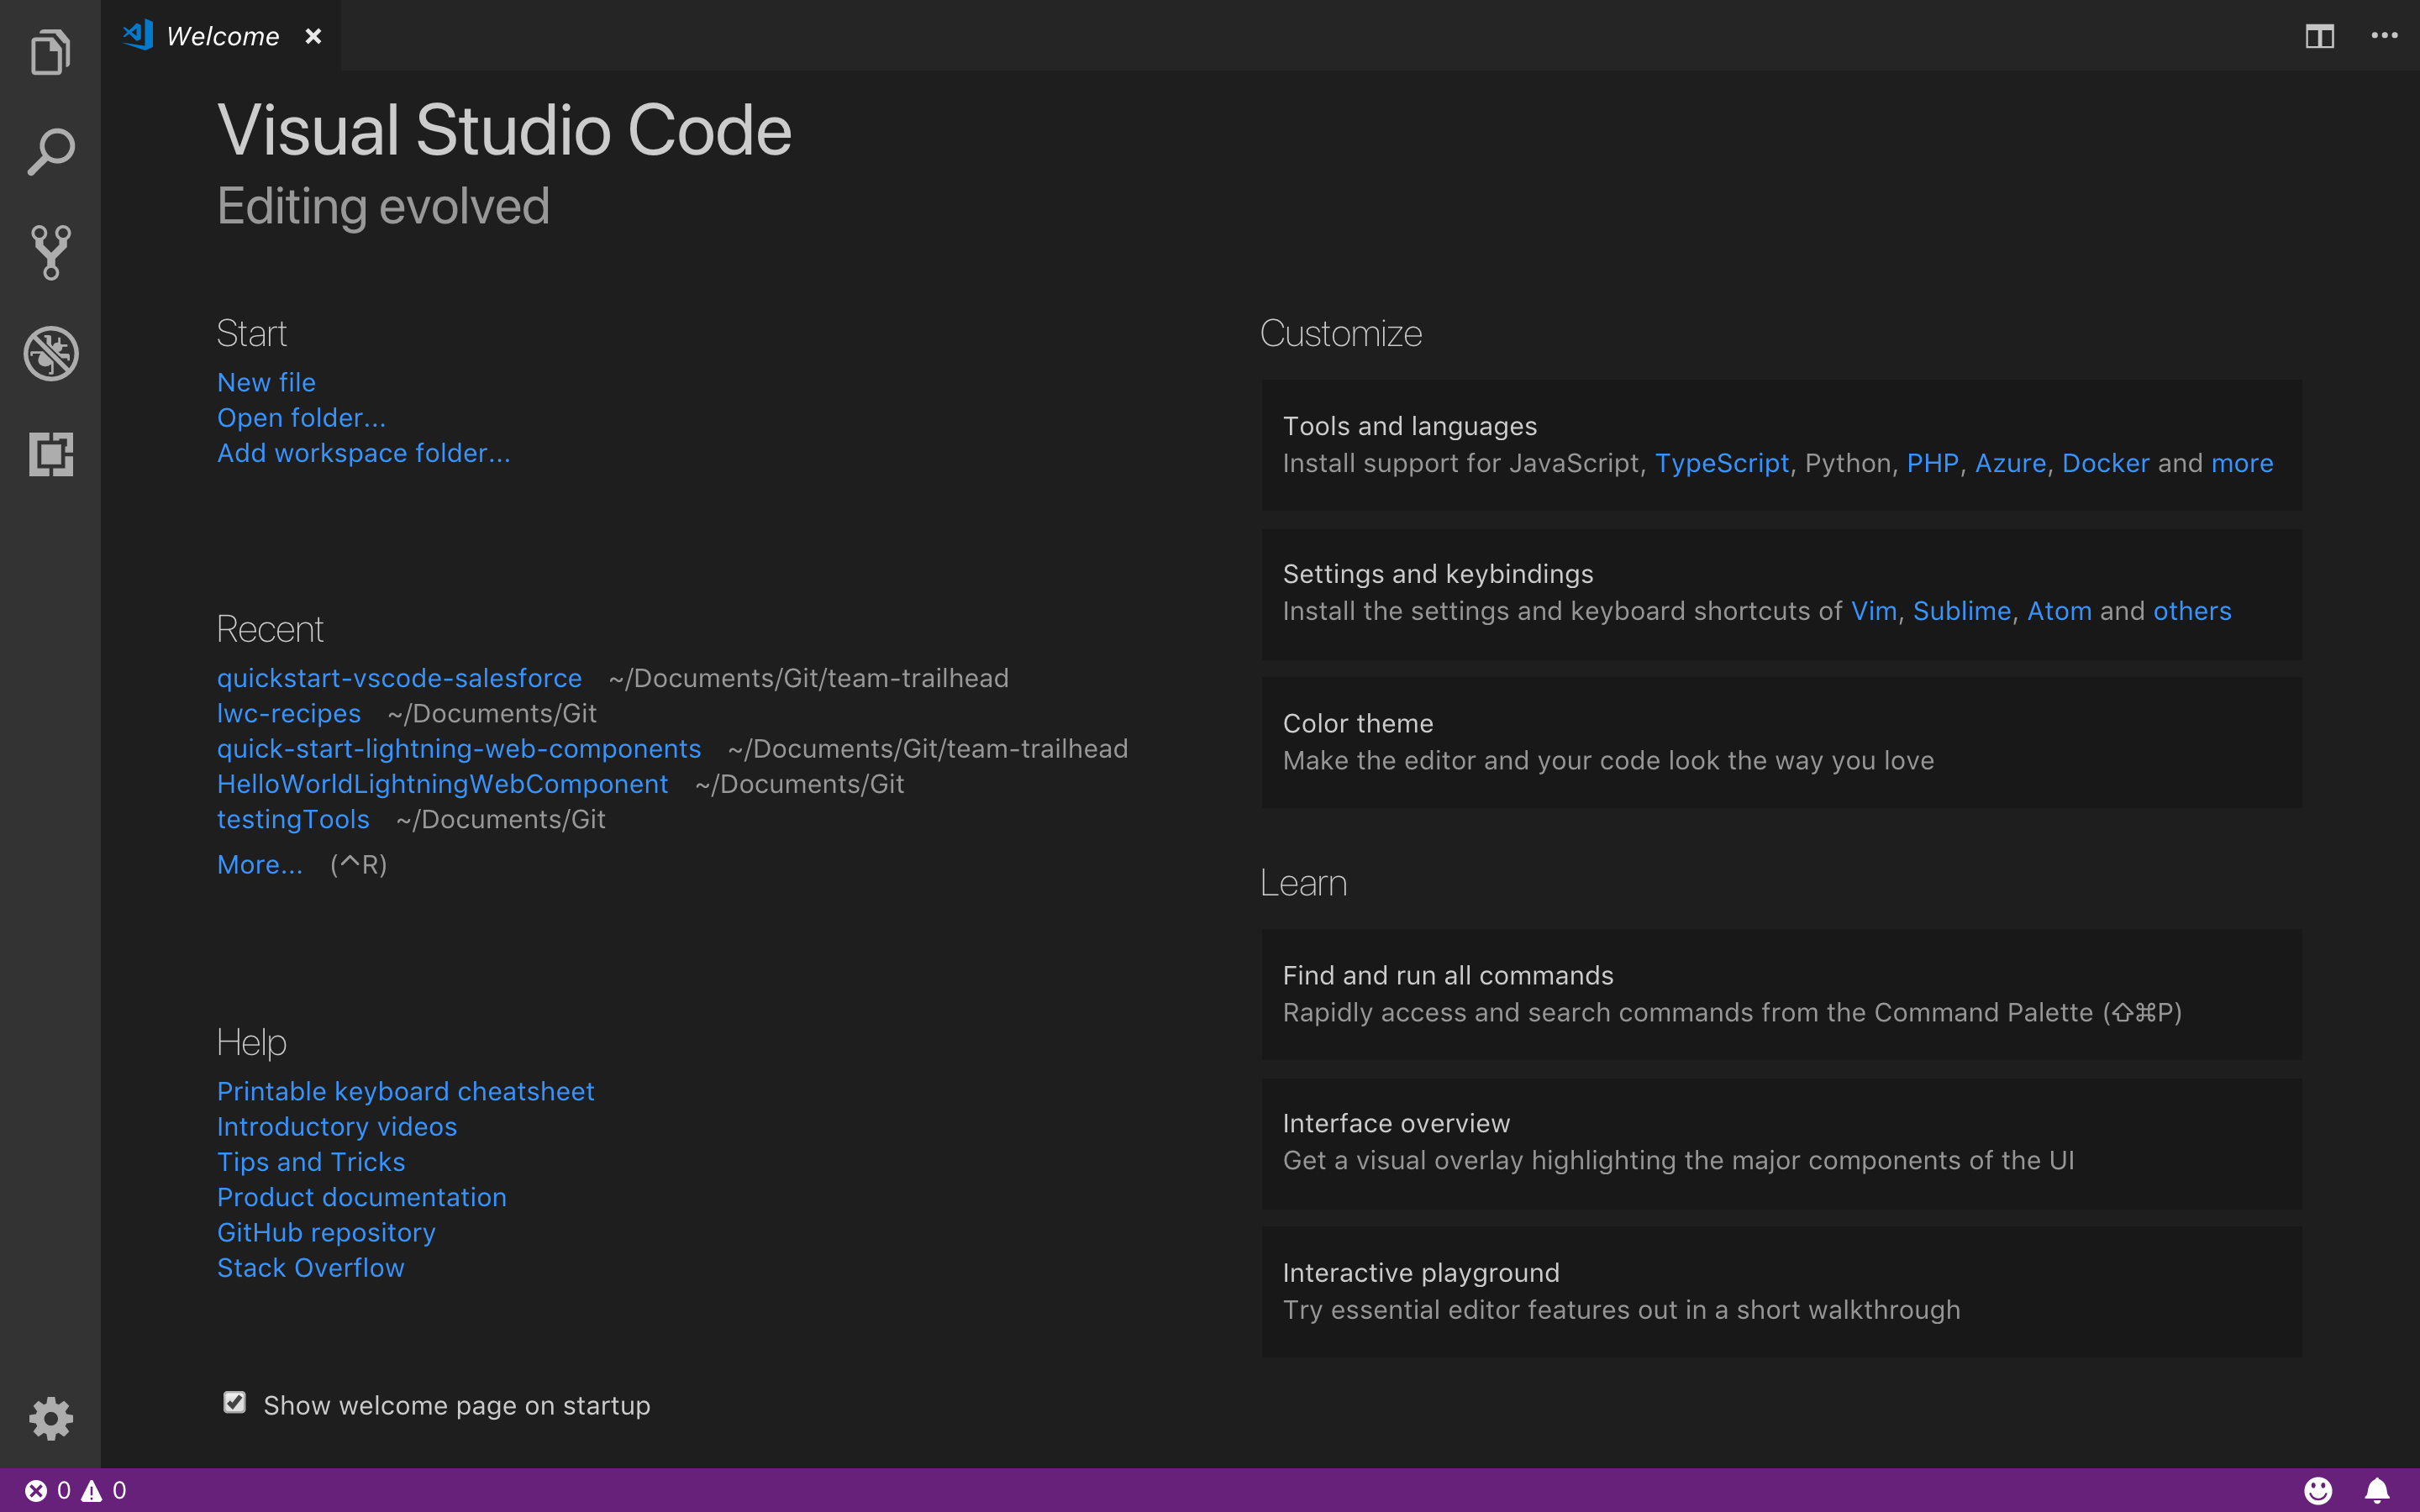
The welcome page for Visual Studio Code automatically opens the first time you run the application. This page has many shortcut links, such as getting started with a new file, learning about Visual Studio Code, or even customizing the interface according to your preferences.
- Launch Visual Studio Code.
- On the left toolbar, click the Extensions icon
 .
. - Enter
Salesforce Extension Packin the search field.
- Click into the card that says Salesforce Extension Pack.
- Then in the newly launched window, click the green Install button.

- Close and relaunch Visual Studio Code to complete the installation.
Command Palette
To view the quick open window, press Command + P on Mac or Ctrl + P on Windows.
If you type
? you can view the help menu. Through this module we will use the quick open window in command palette mode, which allows us to show and run commands.
Create Project
Please refer the following trailhead unit to learn how to create project
Quick Start: Visual Studio Code for Salesforce Development -> Use Visual Studio Code for Salesforce Development
Connect with existing ORG
- Press Command + Shift + P on Mac or Ctrl + Shift + P on Windows to make the command palette appear.
- New prompt starts with
> - Type SFDX: Create Project with Manifest
- Enter a project Name <Name of the project in VS Code>
- Choose a location in computer and hit enter
- This will create a project with a template in VSCODE
- Press Command + Shift + P and Type SFDX: Authorize an Org
- Select Project Default (https://login.salesforce.com)
- Enter Alias Name
- This will open a salesforce login Browser. Provide credential.
- Allow page will appear.
- Come back to VS code. You can see successful authorization message in output window. You may now close the browser.
- If you do not find LWC bundle in Package.xml, Please as follows
- <types><members>*</members><name>LightningComponentBundle</name></types>
- RightClick on Package.xml and click SFDX:Retrieve source from Org to retrieve new files.
- RightClick on force-app and click SFDX:Retrieve source from Org and to retrieve exisitng content.
- After that you can add/update files in location and deploy the code to org by SFDX: Deploy source from Org
Apex Replay Debugger with VS Code
Look for following trailhead project for detail learning.
Find and Fix Bugs with Apex Replay Debugger
“Any bug not detected in the design phase will cost ten times more time to detect at the coding phase and an additional ten times more at the debugging phase.” —Dr. Nikolai Bezroukov, The Art of Debugging
When trace flags are enabled, Apex code generates debug logs, that are recordings of all interactions in a transaction. Apex Replay Debugger simulates a live debugging session using a debug log. It presents the logged information, including variable values, call stack, and breakpoints, similarly to an interactive debugger, so you can debug your Apex code.
1. Install and.or update CLI

2. Install (or Update) for the Salesforce Extension Pack in VS Code
3. Install Java Standard Edition Development Kit 8
Confirm Java is properly installed by locating its installation directory. For example, C:\Program Files\Java\jdk1.8.0_201
Configure Java Home Setting for Apex Support
By default, Salesforce Extensions for Visual Studio Code attempts to locate your Java installation directory by looking for a
JAVA_HOME or JDK_HOME environment variable on your computer. You can also set the salesforcedx-vscode-apex.java.home setting to point to the Java installation directory you want to use, which is helpful when you have multiple versions installed. For this project, let’s configure Visual Studio Code settings to point to our JDK8 installation directory.- In Visual Studio Code, click File > Preferences > Settings (Windows or Linux) or Code > Preferences > Settings(macOS).
- Enter
apex javain the search box, then under the Salesforcedx-vscode-apex > Java: Home section, click Edit in settings.json.
- Change the
salesforcedx-vscode-apex.java.homesetting to the full path to your Java installation directory identified in the previous step. Note that for Visual Studio Code settings, the backslashes must be escaped (\\) but forward slashes (/) don’t.
- Relaunch Visual Studio Code to ensure the setting takes effect.
Create a Launch Configuration
A launch configuration tells Visual Studio Code how to start a debug session with custom debuggers such as Apex Replay Debugger. To create a launch configuration for Apex Replay Debugger, create or update your project’s
.vscode/launch.jsonconfiguration file.- In Visual Studio Code, click the Debug menu then choose Open Configurations. After a few seconds, Visual Studio Code loads the available debugging extensions and prompts you to select an environment.

- Select Apex Replay Debugger. If you do not see the option listed, make sure you’ve configured your
salesforcedx-vscode-apex.java.homesetting to point to your Java 8 home directory and restart Visual Studio Code.
- After a few seconds, Visual Studio Code opens the generated launch configuration file
.vscode/launch.json. If a configuration entry with the name “Launch Apex Replay Debugger” is not listed in yourlaunch.jsonfile, the Apex Replay Debugger extension may not have fully initialized yet. Delete thelaunch.jsonfile, and retry steps 1–2 to create the launch configuration again. We won’t make any changes, so go ahead and close the file after it's created successfully.
Debug Your Code
Follow trailhead project
Find and Fix Bugs with Apex Replay Debugger > Debug Your Code
Commands to remember:
SFDX: Invoke Apex Tests and choose file.
SFDX: Toggle Checkpoint
SFDX: Update Checkpoints in Org
Run Apex Test and Get debug
SFDX: Turn On Apex Debug Log for Replay Debugger
SFDX: Invoke Apex Tests and choose file.
SFDX: Get Apex Debug Logs and choose the file.
RePlay an Apex Debug Log
Open debug file from .sfdx/tools/debug/logs
Right Click and choose SFDX: Launch Apex Replay Debugger with Current File
Debugger will arrive at the check point.
HAPPY DEBUGGING......
LWC Local Development Beta
Local Development is a plugin for the Salesforce CLI. Eventually, this will ship with the Salesforce CLI out of the box, but for now you will need to install it by running the following command.
sfdx plugins:install @salesforce/lwc-dev-server
Once, the plugin is installed you can run the Local Development Server on your Salesforce project by running the start command. Note that you will want to be authorized into an org before you start the server so you can take advantage of the data proxy features. See the full documentation for details.sfdx force:lightning:lwc:startRefer following for more detail:
Subscribe to:
Comments (Atom)
-
The Following code will help navigate from one page to other in community using LWC. In the below example Page 1 is calling Page2. Page1: ...
-
 Install the Command Line Interface (CLI) The steps are consolidated from Trialhead modules. Download the CLI using the appropriate link ...
 -
Intention and Description: Helps user select multiple options with a search capability. Courtesy and Inspiration : Santanu Boral Feature...